Setting up a Basic Nginx Web Server on Windows
Hello, I will be setting up a basic nginx web server on Windows as practice for learning some concepts about web servers and networking. Feel free to follow along.
1. Downloading Nginx on Windows
Download Nginx for Windows from their homepage here. The link I used is highlighted in green in the image above. The file will download as a zip.
2. Unzip the Nginx folder
For simplicity’s sake, I unzipped the file and placed it onto my desktop.
3. Run nginx.exe
Double-click nginx.exe. It should now be running in the background and show up on task manager. (You may need to adjust firewall settings)
4. Go to localhost in a web browser
Type localhost or 127.0.0.1 into the search bar of a browser. The home page for nginx should now appear:
127.0.0.1 or localhost is the loopback IP address of your own computer, which is used for testing and accessing websites locally before putting them on the internet.
Nginx has now been set up to be used as a local, static web server. This is similar to how I set up and test this blog, except I use Visual Studio Code, Jekyll, and have it hosted through Github pages.
5. Edit the html files
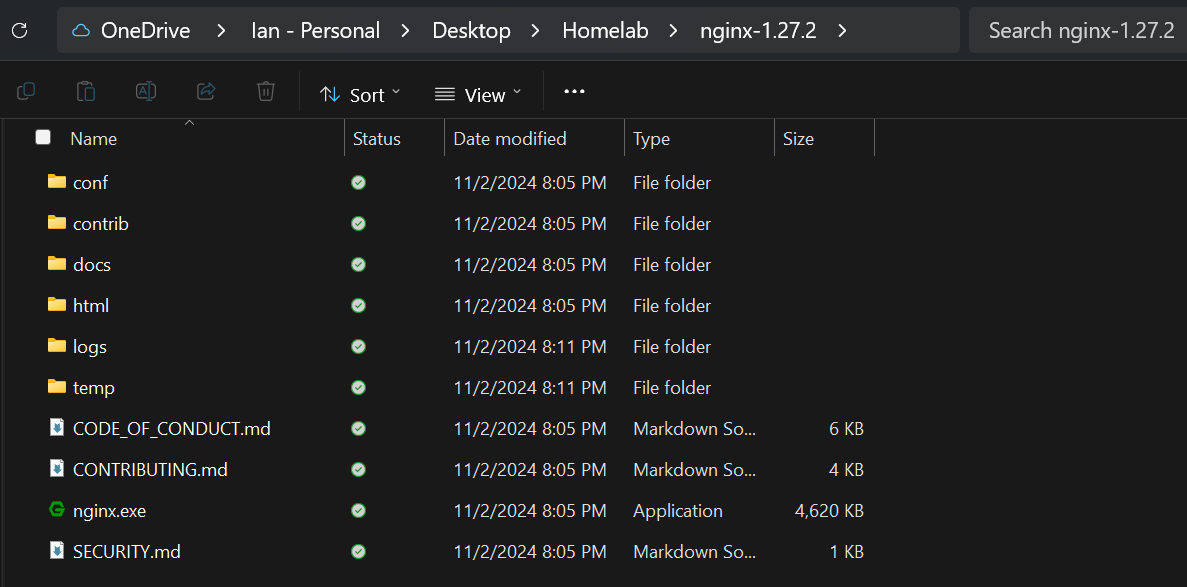
Go to the nginx directory:
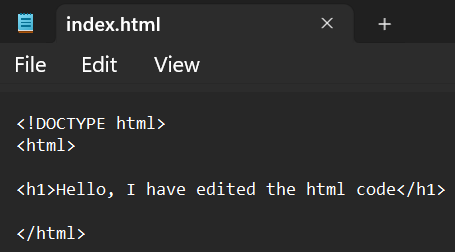
Then go to the html folder, right click the index.html file, and edit it in Notepad. Using basic html, I edited the file to have it say, “Hello, I have edited the html code.”
index.html is typically the name for a website’s homepage. Here’s what it’ll look like after we edit the html code:
6. Accessing the web server from different computers on the same network
We can also acccess the website from different computers on the same network by putting the host computer’s IP address into the other computer’s browser: Tutorial link for finding your computer’s IP address on Windows. Here is me accessing the web server on a Kali Linux virtual machine:
Conclusion and Future Steps
Now that we’ve set up a basic static nginx web server on a local network, we can use it for testing websites before deploying them to live servers.
Ideas for future projects:
- Setting up an nginx web server on linux.
- Enabling port forwarding on a router to make the website publicly accessible.
- Hosting a website using nginx on a cloud platform


